
How many times have you found yourself staring at a box of parts, wondering how in the world they fit together? Assembling things can seem overwhelming, but it doesn’t have to be! Let’s unravel the mystery of putting together your utility cart, and later, I’ll guide you on how to take it apart when you need to move it or store it.

The Benefits of Having a Utility Cart
Before we get into the assembly process, let’s take a moment to appreciate what a utility cart can do for you. Whether it’s for your home, office, or garage, this handy piece of equipment is all about making your life easier.
Utility carts can hold a variety of items, from cleaning supplies to kitchen essentials, and they provide mobility that can save you time and energy. Think about it: instead of making several trips back and forth to fetch items, you can load everything onto a cart and zip from room to room.
Common Uses for a Utility Cart
- In the Kitchen: Use a utility cart to organize your kitchen gadgets, store fruits, or serve meals.
- Home Office: Keep your paperwork and supplies easily accessible.
- Garage or Workshop: Handy for moving tools or materials.
- Party Prep: Perfect for transporting snacks and drinks from the kitchen to the dining area.
What You’ll Need for Assembly
Alright, time to get practical! Before you start, gather everything you need for assembly. Here’s a handy list:
Tools Required
- Screwdriver: Depending on the type of screws, you may need a flathead or Phillips.
- Hammer: Sometimes needed if you have pegs or dowels.
- Level: To ensure your cart is stable once assembled.
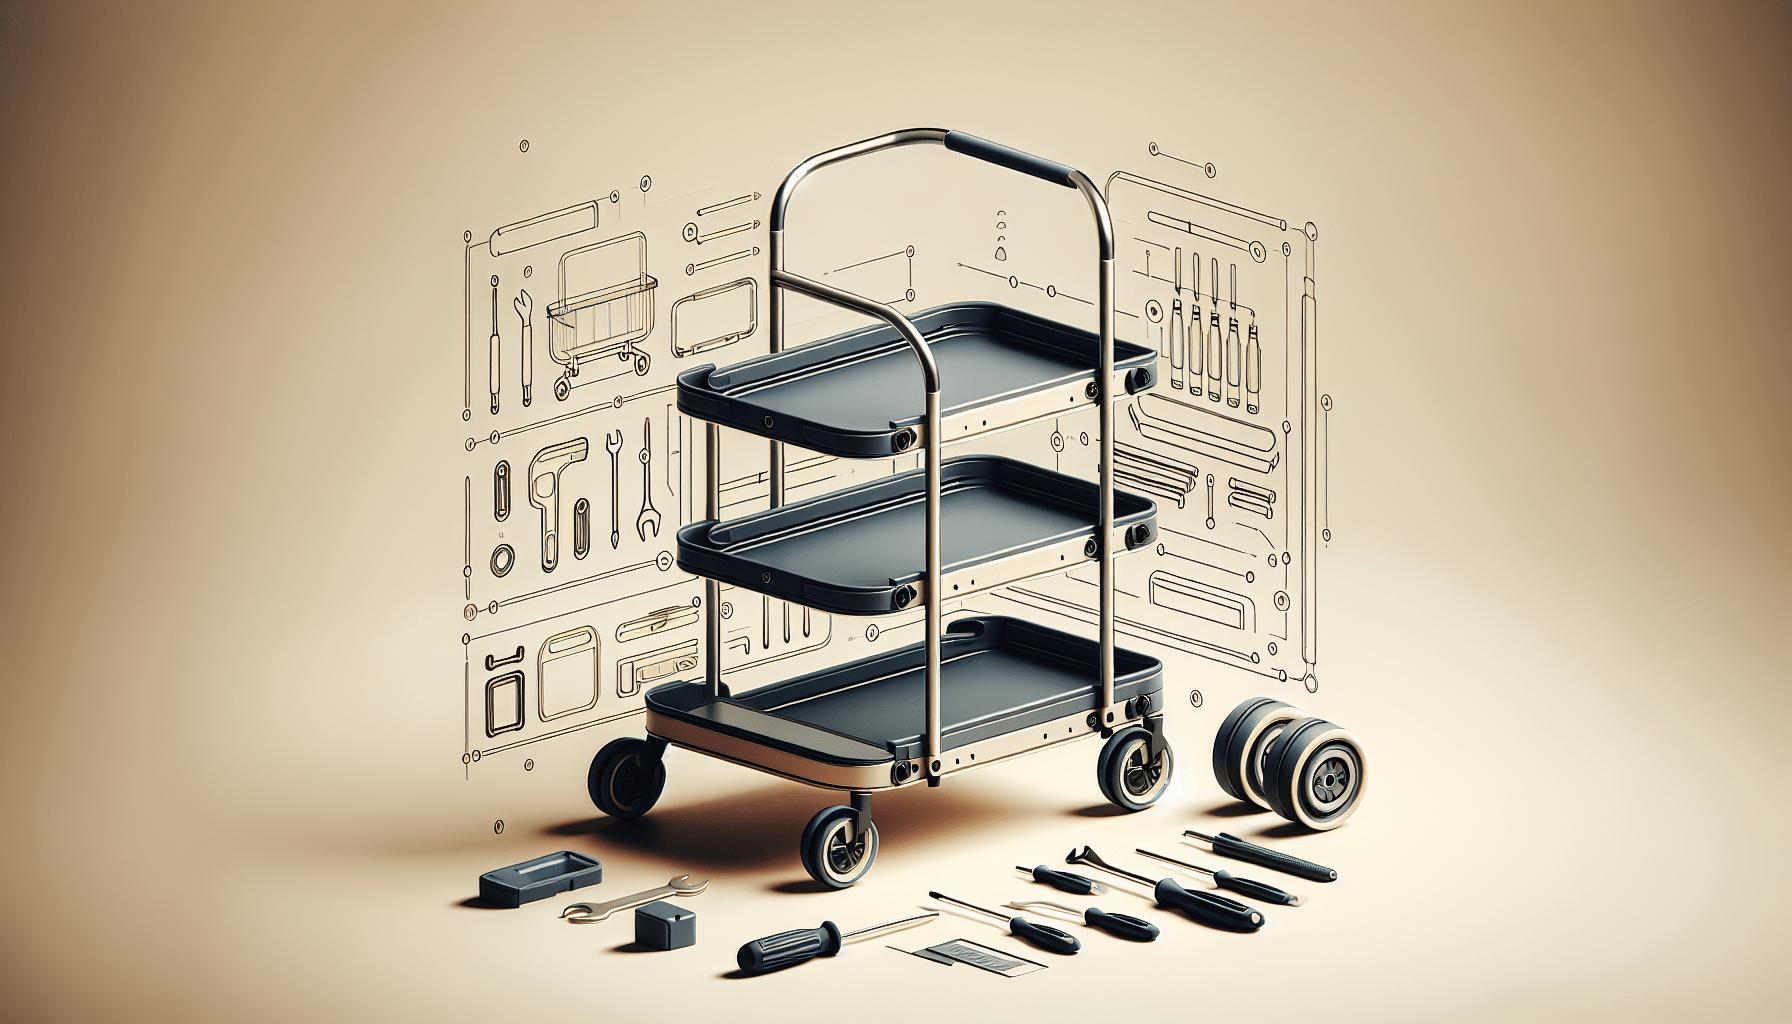
Parts Checklist
Check the following parts are included in your package:
| Part | Description |
|---|---|
| Cart Frame | The main structure of the cart |
| Shelves | Typically two or three flat surfaces |
| Wheels | Usually four, with at least two locking |
| Handles | For pushing or pulling the cart |
| Screws | Assorted screws to hold everything in place |
Make sure everything is right there with you before you begin. It’s much easier to solve an assembly puzzle when you have all the pieces on the table.

Step-by-Step Assembly Instructions
Now that you have everything at your fingertips, let’s get to the fun part: putting your cart together! Follow these steps closely, and you’ll have your cart up and running in no time.
Step 1: Prepare the Workspace
Clear a large space on the floor where you can easily maneuver the parts without feeling cramped. Lay out the parts on the floor and take a moment to familiarize yourself with each piece. Isn’t it nice to have everything organized?
Step 2: Attach the Wheels
Take the wheels and look for the holes at the bottom of the cart frame. Typically, you’ll find a designated area for each wheel where screws will hold them firmly.
- Insert the wheel into the hole.
- Secure it with the screw. If required, use a screwdriver to tighten firmly.
- Repeat this step for all four wheels.
Sometimes, a locking mechanism will be included on the wheels. Make sure to locate this feature and check they lock properly to prevent any unwanted rolling.
Step 3: Assemble the Frame
Now, let’s put the cart frame together. This usually consists of sides, a back, and a front.
- Connecting Sides: Align the sides with the back. Most frames have pre-drilled holes.
- Securing: Use screws to fix them in place. Be sure to check that it’s steady as you’re tightening.
- Facing Forward: Make sure the front section is in the right orientation to allow for easy access to shelves.
While you work, ensure the frame is standing upright and secure. If it wobbles, double-check the screws.
Step 4: Insert the Shelves
Now it’s time for those lovely shelves! They provide the functional aspect of your cart.
- Choose the Height: Most utility carts allow you to choose the height at which you want the shelves; this depends on what you plan to store.
- Slide or Insert: Depending on the design, either slide them into place or secure with screws.
- Check Level: Use your level to ensure that the shelves are evenly placed.
As you finish this step, you should see the cart starting to take shape. Isn’t that rewarding?
Step 5: Attach the Handles
Handles make it easy to move your cart around, so let’s not skip this crucial part.
- Locate the Handle Attachment Points: Usually at the front end of the cart.
- Align the Handle: Place it on the designated spots.
- Screw in Place: Ensure everything is tight and feels sturdy.
When you grip those handles, they should feel solid and reliable under your touch.
Step 6: Final Checks
Once you’ve assembled the cart, it’s important to go through a quick checklist:
- Tightness of Screws: Run through all the screws to ensure they are tight and secure.
- Leveling of Shelves: Make sure they are even and stable.
- Mobility Test: Try moving the cart a bit to see how smoothly it rolls.
With the checks complete, your utility cart is finally ready!
Disassembling Your Utility Cart
Now, there might come a time when you’ll need to disassemble the cart—perhaps for transport or storage. Not to worry! Taking it apart is just as straightforward as putting it together.
Step 1: Prepare Your Space
Clear a good area where you can work without feeling rushed. Perhaps an empty corner of your garage or a spare room will suffice. Gather your tools—primarily a screwdriver.
Step 2: Remove the Handles
Starting from the top is always a smart move. Unscrew the handles carefully and place them aside. Keep them organized so you won’t misplace anything.
Step 3: Take Off the Shelves
With the handles sorted, now focus on the shelves. Depending on how you installed them, you might need to unscrew them or simply slide them out.
- Screw Removal: Unscrew any screws holding the shelves in place.
- Careful Removal: Once unscrewed, gently lift them out one at a time.
Your cart will start looking like a collection of parts again, rather than a full cart.
Step 4: Detach the Wheels
Next, let’s handle the wheels. Unscrew the screws attached to each wheel and set them aside.
Step 5: Disassemble the Frame
Finally, it’s time to take the frame apart.
- Remove Screws: Run through each connection point and unscrew.
- Take It Apart: Once unscrewed, the sides can be gently pulled away from the base and back.
Ensure that you store all screws together, maybe in a small bag or container, so you won’t have to hunt them down later.
Step 6: Organize and Store
You’ve done it! Your utility cart is now disassembled, and it’s time to store it. Lay out all parts neatly or put them in a box. Keeping everything organized makes the next assembly a breeze.
Maintenance Tips for Your Utility Cart
Now that you have your utility cart assembled and disassembled, keeping it in top shape is essential. Here are some quick maintenance tips:
Regular Cleaning
- Wipe Down Surfaces: Once a week, give your cart a thorough wipe down to keep it looking fresh.
- Clean the Wheels: Look for debris stuck in the wheels to maintain smooth mobility.
Check Stability
- Inspect Screws: Every few months, check that screws haven’t loosened over time, especially if you move the cart frequently.
- Level Shelves: Make sure the shelves remain level after extensive use or if heavy items are stored.
Protective Measures
- Avoid Overloading: Stick to the weight limit provided by the manufacturer. Overloading the cart can compromise its stability and lifespan.
- Store Indoors: If possible, keep your utility cart indoors to protect it from the elements and enhance its longevity.
Conclusion: A Utility Cart To The Rescue
Having a utility cart can make a world of difference in your organization and efficiency. With just a few steps, you can assemble or disassemble it, making your work or home life just that much easier. Remember, the key is having everything organized—both when you put it together and when life demands you take it apart.
The next time you find yourself needing a little help, just recall this quick guide. Your utility cart will be your trusty sidekick, ready to assist you in lifting the load—literally! Enjoy the convenience of your new utility cart, and make the most of what it can do for you.